Last week, I spotted this tweet from the official Home-Assistant account.
In the name of security we get locked out of a local API yet again. Shame on you TP-Link. Got an alternative lined up that isn’t cloud based? https://t.co/fbNnWk2KGL
— Home Assistant (@home_assistant) November 17, 2020
In short, what’s happened is that TP-Link issued a firmware update that turns off the ability to control their smart plugs (and, one assumes, smart switches) from a device on the local network (e.g. Home Assistant), leaving the cloud-based API, and their official KASA app, as the only way to control the devices.
I use TP-Link smart plugs myself. Currently to automate some lamps in the living room, but I’ll also be using them soon to automate the Christmas lights. (Sure, I could use a lamp timer, but I want the lights to go on right at sunset, not “sometime near sunset.” ?) For me, key parts of the value proposition were (a) It worked with Home Assistant (b) It didn’t require using someone else’s cloud (i.e. my usage patterns remain private).
Digging into it a bit… Turns out that there really is a legit security flaw with these devices. I haven’t seen any official details from TP-Link, but I found other reports of problems (Which?, October 2020; Fernando Gont, March 2017) involving weak encryption and the ability for other people to control the device.
So, it’s a legitimate concern. Ideally, the fix would be a locally accessible API with authentication. Turning off local access altogether is rather “ham fisted.”
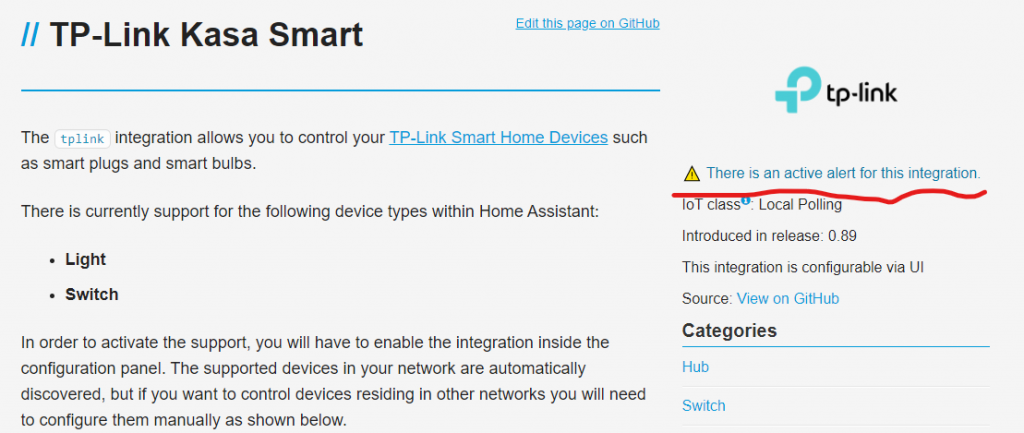
Home Assistant has issued an alert that the TP-Link integration is “broken” with a link to a user-community discussion, though the alert isn’t really as obvious as one might hope….
Now that I know about the problem, I’ll have to weigh the risks of leaving the firmware out of date against losing my automations. I like the TP-Link plugs, they’ve been pretty reliable over the past several years, and the Home Assistant integration is about as simple as they come (you add a plug to your network, Home Assistant adds it to the list of devices…. easy peasy).
Ultimately, this comes down to the risks of using a “black box” product, where there is no official support for Home Assistant. Fortunately, there is a bit of good news in this. TP-Link seems to value the Home Assistant community and in response to the uproar is working on a fix to restore the local-control functionality.
The question is, do I trust them not to break it again?