This is one of those posts I’m writing for myself as much as for anyone else. ?
Someone from the local Buy Nothing group had some older webcams they were giving away and I was able to get one. My long term goal is to eventually set up a camera with a Raspberry Pi and do some motion-activated photography of whatever wildlife comes through our backyard. (Previous attempts have revealed deer, a fox, and various stray cats.)
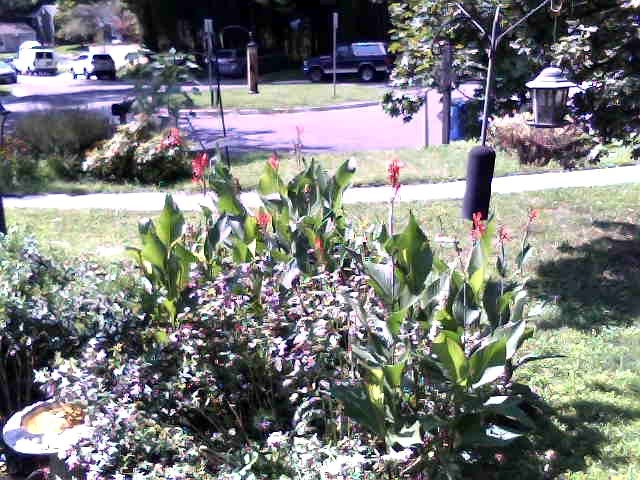
For now though, I put it in my office window and set up the Windows 10 camera app to take photos of the front-yard flower bed once every ten seconds. After about 90 minutes, I had 504 photos. Now, what to do with them?
Stepping through them quickly in the image viewer made a day of gentle breezes seem quite windy. So I decided to turn them into a time-lapse.
The VLC player is my go-to for playing videos, and I’ve had some luck using to convert between formats as well, so I wondered if I might be able to use that. I found some tips for using it to create “slideshows”, but nothing for saving the slideshow as a video file.
But I did notice that a lot of the comments mentioned using ffmpeg.
That’s a Linux program, so I opened a I opened a Windows Subsystem for Linux prompt and installed it.
$ sudo apt update && sudo apt install ffmpegThe ffmpeg program has a rich set of command line options to learn, but for now, I just wanted to convert my photos to a video. After a few false starts, I found some helpful tips in this Stack Overflow answer and tried it out
$ ffmpeg -framerate 1 -pattern_type glob -i '*.jpg' -c:v libx264 -r 30 -pix_fmt yuv420p out.mp4The first pass, with one frame per second, wasn’t quite what I was looking for. It was a “slideshow as video” but too slow paced for what was really 504 nearly identical images.
The next pass was 10 frames per second, followed by 30. I finally settled for 60 frames per second:
$ ffmpeg -framerate 60 -pattern_type glob -i '*.jpg' -c:v libx264 -r 30 -pix_fmt yuv420p out-60fps.mp4